Did you get a request to setup CRM demo with email integration enabled and looking for steps to setup the same?? if yes this article is going to help you for sure. This is a common ask when you are working in pre sales. This article will provide basic steps required to set CRM online demo and using email integration. Let’s divide our requirement into two steps
• Setup Online trial (Very quick and it’s free 🙂 )
• Setup email integration (it’s also free 😉 )
Setup Online trial
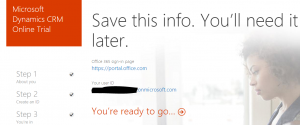
The process to setup trial is different time to time, so best option is to use your search engine to search for correct URL that can be used to setup online trial. We are going to use this link and will use Self-Start trial option to setup CRM online trial organization. The process of setting trial basically includes following below three steps:
Step 1: Here we need to enter basic details of our organization and contact person details.
Step 2: Here we need to create CRM user and need to provide unique name for our trial organization.
Step 3: Here we need to prove that we are not Robot 😛 through call or SMS
Finally, we can click on You’re ready to go link and setup currency and language of our organization.
Now we are done with our first step, so when we will sign-in to CRM online, we should see our Sales Activity Social Dashboard based on the sample data setup for us.
Setup Email Integration
To setup email integration, first we need to buy Office 365 Enterprise E3 plan and need to setup it. We need to use following steps:
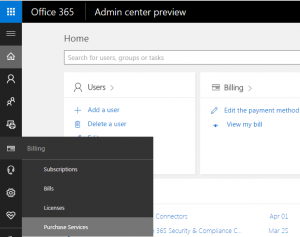
1. Go to https://portal.office.com and select Purchase Services option under Billing
2. Search for Office 365 Enterprise E3 plan under Enterprise Suite and click on Start Free Trial. After that confirm our order and click on Continue.
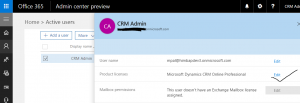
3. Navigate to User and select Active Users.
4. Select our CRM user and click on Edit button under Product licenses.
5. Enable Office 365 Enterprise E3 and click on Assign button. (Note: User won’t be able to see office online products until we will assign this license to user).
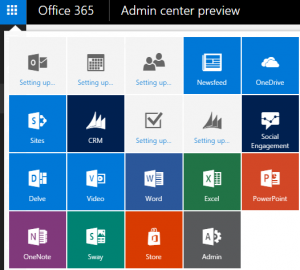
6. Now refresh your browser, after that user will be able to see all office 365 products like below:
7. Let it complete mail setup first and click on Mail after that to open office 365 outlook.
8. Navigate to Mailboxes under Settings->Email Configuration.
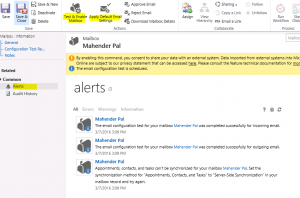
9. Open CRM user mail box and click on Approve Email button on command bar and click on Test & Enable Mailbox button.
Finally, after successful configuration, we should be able to see alerts like below:
Here it’s using Server Side Synchronization method for this email integration. If you are new to Server Side Synchronization, please refer this KB to understand Server Side Synchronization.
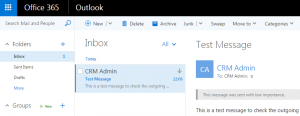
We should see a test email in our Office 365 outlook and we are done !!! Similarly we can create more users if required and assign them licenses.

