
Introduction
This is our second article about developing scheduler for Dynamics 365 CE using Azure Timer Function. In earlier article we developed a simple sample Azure Timer Function, now we are going to discuss how to deploy and configure scheduling for the Azure Timer Function.
Solution
Let’s first discuss how to schedule Timer to run it on specified times. Based on our requirement we want to run our schedule on first day of every month, We found this blog post very helpful to understand about the Azure Timer trigger.
Here is the basic expression of Azure Timer Trigger is like following
{second}{minute}{hour}{day}{month}{day of the week}
and when you add Azure Timer Function you will see it is setup (0 */5 * * * *”) to run after every 5 minutes. But we need to configure it to run first day of every month so we will set it like (0 0 0 1 * *). After changing expression like this if you will run Azure Function from visual studio you will be able to see next 5 occurrence information like following

Note: Before running Azure Function make sure to setup RunOnStartup = false to see these details. Also before deploying your Azure Function to Azure make sure to setup this to false otherwise it will run once as soon as Azure Function Service started in Azure.
So we have configured timer expression so let deploy our Azure Function to Azure portal.
1. Right click on the project and select Publish.
2. Select Create New and click on Create Profile button.
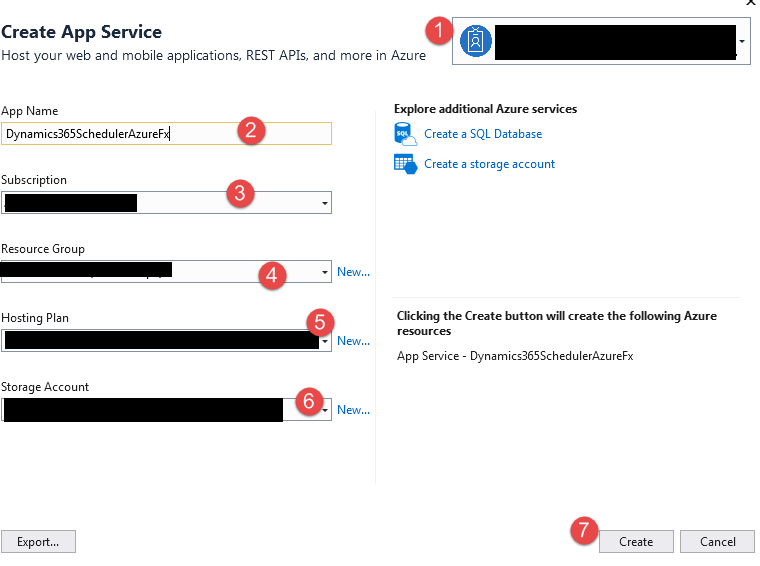
3. In next screen we need to create App Service so first make sure you are logged to Azure using your valid user and later you can fill details of the App service dialog, if you have already created Azure Resource group, Hosting plans, Storage account, you can select them otherwise you can create them by clicking on New button. Once all details are selected click on Create to create app service.
Once App Service is created, you will be redirected to the Publish screen like following:
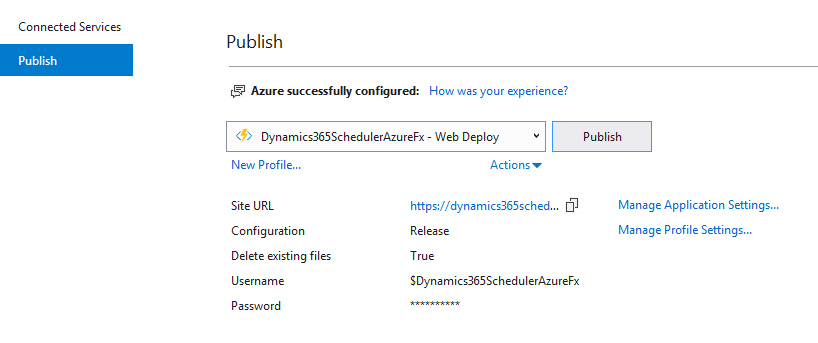
Click on Publish to publish your Azure Function App service
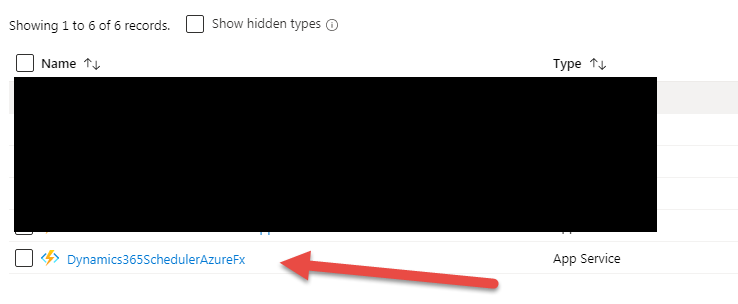
Once publish process is completed you can navigate to Azure Portal and check Resource Group, you should be able to see new Azure Function App service created like following:
When you will click on the Azure Function App Service, you will notice it is read only.
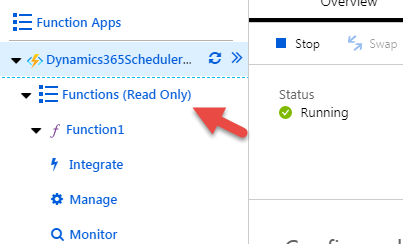
So use following step to make it non read only.
1. Navigate to Platform Features from azure function app and click on App Service Editor under development tools.
2. Remove this first line and close App Service Editor.
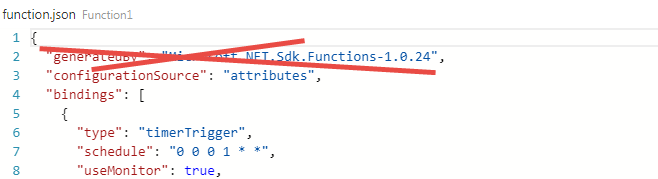
Now our Azure Function app service is not read only and it will run based on the schedule.
Summary
In this article we learned how we can integration Azure with Dynamics 365 CE and can built scheduler for Dynamics 365 CE. Keep in mind by default Azure app service consumption plan offers 10 min timeout limit, if your logic is going to take more then 10 minute you need to buy higher plan. You can get more details about Azure function subscription from below KB.
https://docs.microsoft.com/en-us/azure/azure-resource-manager/management/azure-subscription-service-limits#functions-limits