
Introduction
This is our last article in the series of Dynamics 365 and Azure function integration. In earlier articles, we discuss how we can delete blob storage after our azure function trigger executed. Now we are going to discuss how can we trigger azure function from Microsoft Flow. You can refer our earlier articles from following links
Dynamics 365 CE and Azure Function Part 1
Dynamics 365 CE and Azure Function Part 2
Dynamics 365 CE and Azure Function Part 3
Dynamics 365 CE and Azure Function Part 4
Details
Our CSV file will be uploaded to SharePoint so we are going to use Microsoft Flow to start as soon as file is uploaded to SharePoint document library. Further it can copy file from SharePoint to Azure blob storage which will trigger our azure function and will import file to Dynamics 365. We are going to use following flow template, you can search it under Flow templates.
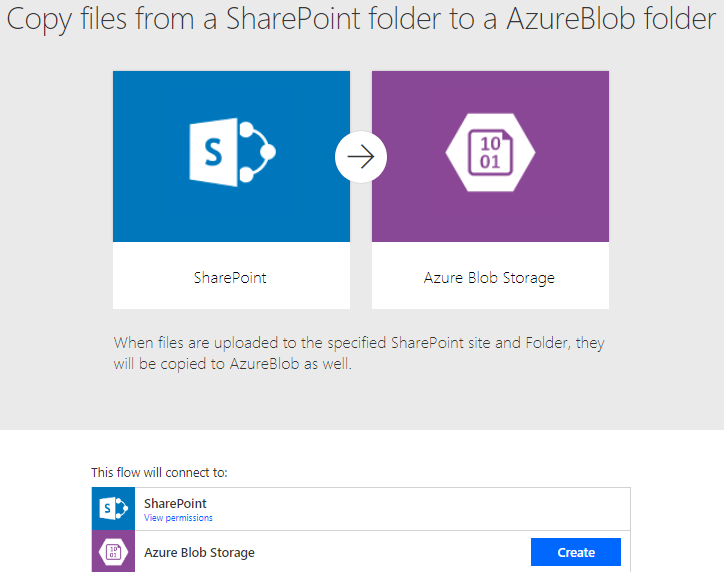
Click on Create button and setup Azure blob storage connection by filling following details

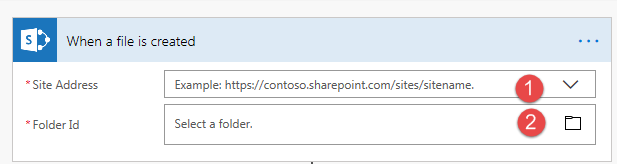
When Connection is created, click on Continue button and select your SharePoint instance and SharePoint folder
After that select Azure blob storage name
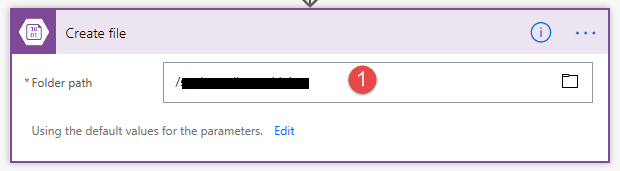
Save your changes, now we can test our flow by uploading CSV file to SharePoint folder and it should copy the file to Azure blob storage and further it will initiate Azure function trigger.
Stay tuned for more Dynamics 365 contents !!
Pingback: Dynamics 365 CE and Azure Function Part 5 - Microsoft Dynamics CRM Community