
Requirement
Create appointments for customers using Canvas app and display existing appointments in gallery control.
Details
We are going to create a sample canvas app where we will have two screen in first screen we will be displaying existing appointments and we will use second screen to create new appointment so let see how we can do that.
You need to have access to the Power Platform environment.
Open https://make.powerapps.com/ and select Canvas app under apps.
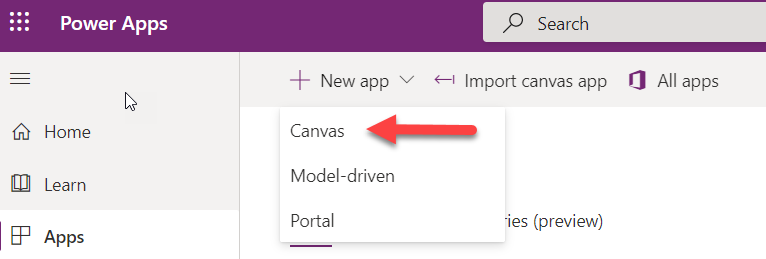
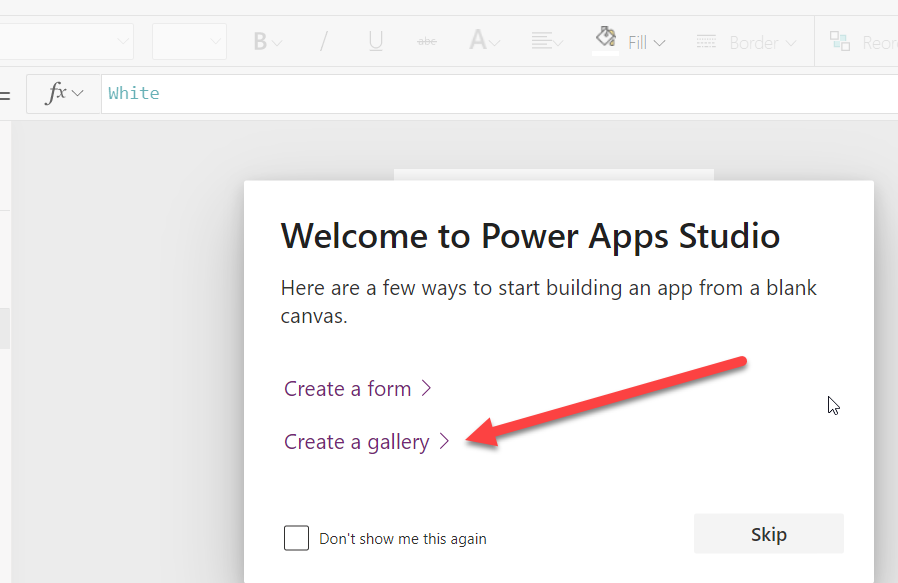
Click on Phone layout option under Blank App after that you will be landed on the power apps designer and may get following pop up, select create Gallery optoins
Select Appointment under the data source of the Gallery control, we can change layout of the gallery control to Text from property window.
Click on New Screen and add Form screen, make sure Default mode of the form is set to New

Click on data base and select appointments

Now let’s select field of appointment so click on Field and select field like below
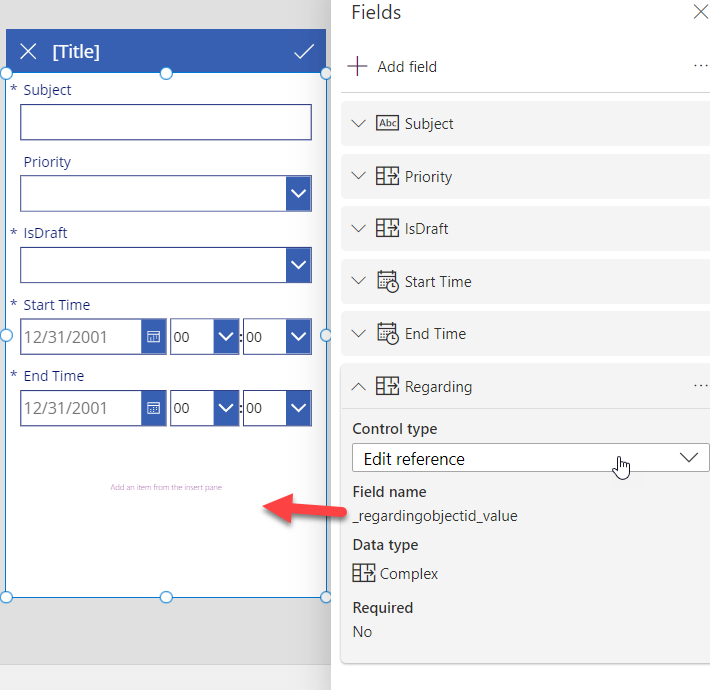
If you will select field like above screen you will notice other fields control rendered but there is no control under regarding data card. This is because regarding field is a Polymorphic lookups which can refer different type of the entity. You can refer details for these lookups here. While working with these type of lookup we can’t directly map data card to these type of field instead we need to use AsType to map this lookup to particular entity, for example let’s say we want to create appointments for the customer in our example.
Now select the regarding data card and add a label and a drop down in the regarding data card, change label text to Account and set drop down properties like below
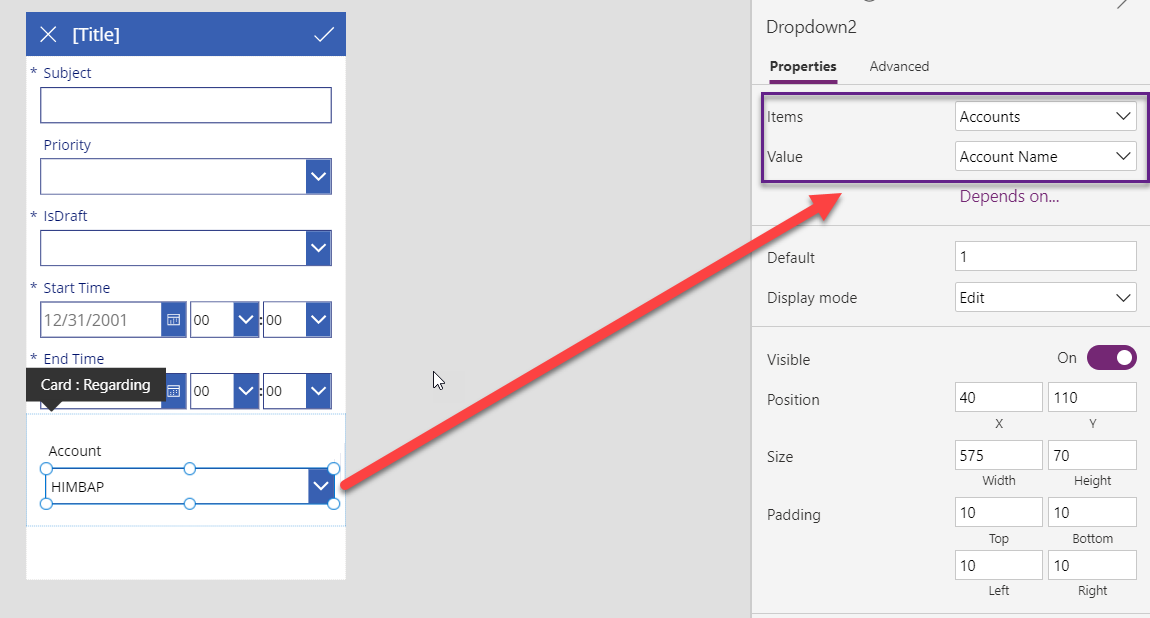
Now select the drop down control and use following formula
![]()
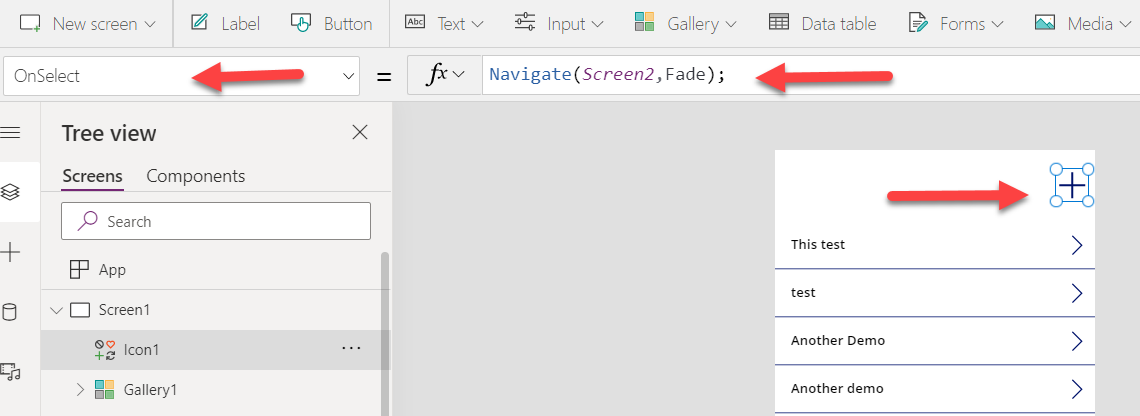
Now our form is ready go back to the gallery screen add on + icon and use write formula to navigate to next page where we can add appointment.
Save and Publish your app now when you will run your app you will see list of the existing appointments and when you will click on the + sign it will take you to the appointment add screen.

Hope it will help someone!
Keep learning, Keep sharing !!